VALPAINT I-BETON: characteristics of the decorative system for continuous surfaces and how to apply it
In these years of pandemic and forced confinement in our homes, we now see our indoor environment from a fresh perspective because we have come to a new realisation - aesthetics and functionality must be two parts of the same whole.
The interior-design sector (and hence the decorative-paints industry) is perhaps the segment that has perceived these changes and taken them on board most. We could say that a small “revolution” has come about, shining the spotlight on the intrinsic value and potential of decorative systems whose very success depends on this vital relationship.
At VALPAINT, a frontrunner in the wall-paint sector, the aesthetics/functionality axiom is epitomised by VALPAINT I-BETON, the design-forward decorative system for continuous surfaces.
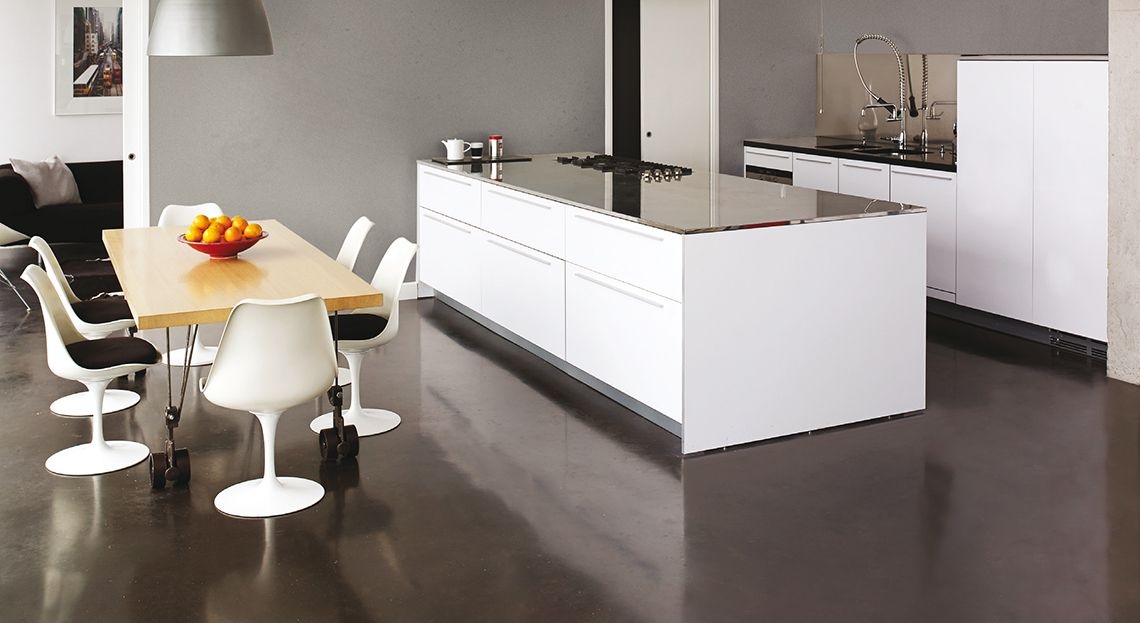
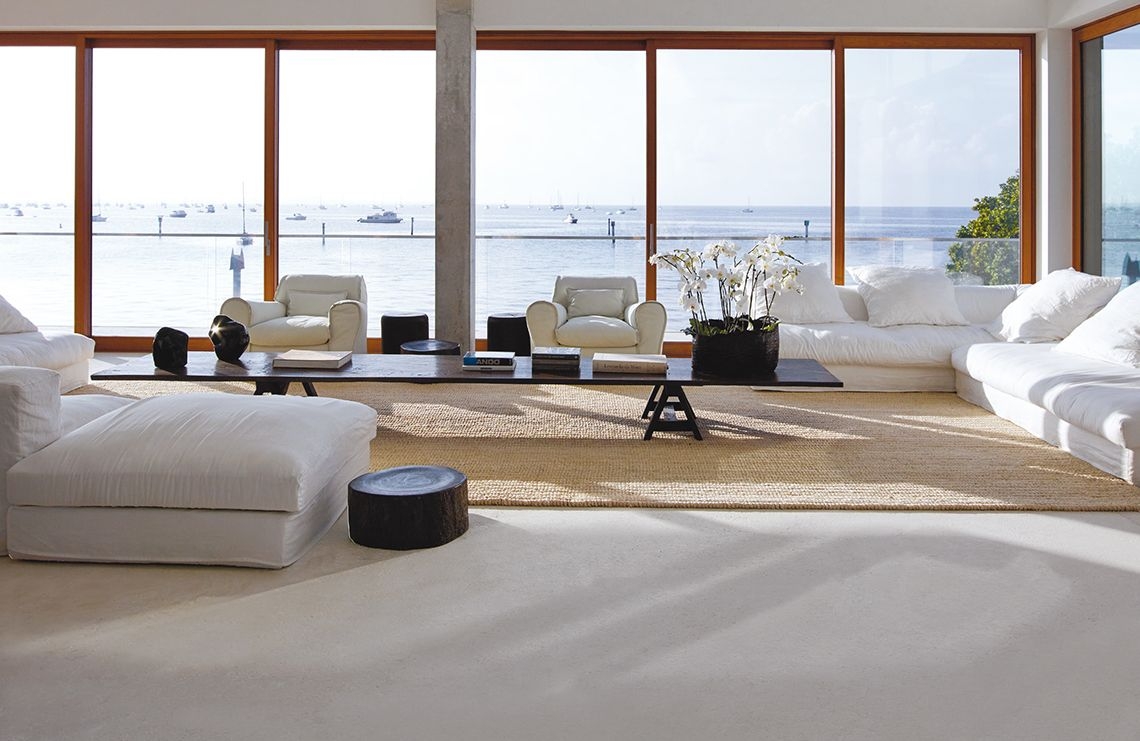
VALPAINT I-BETON and the space/aesthetics relationship
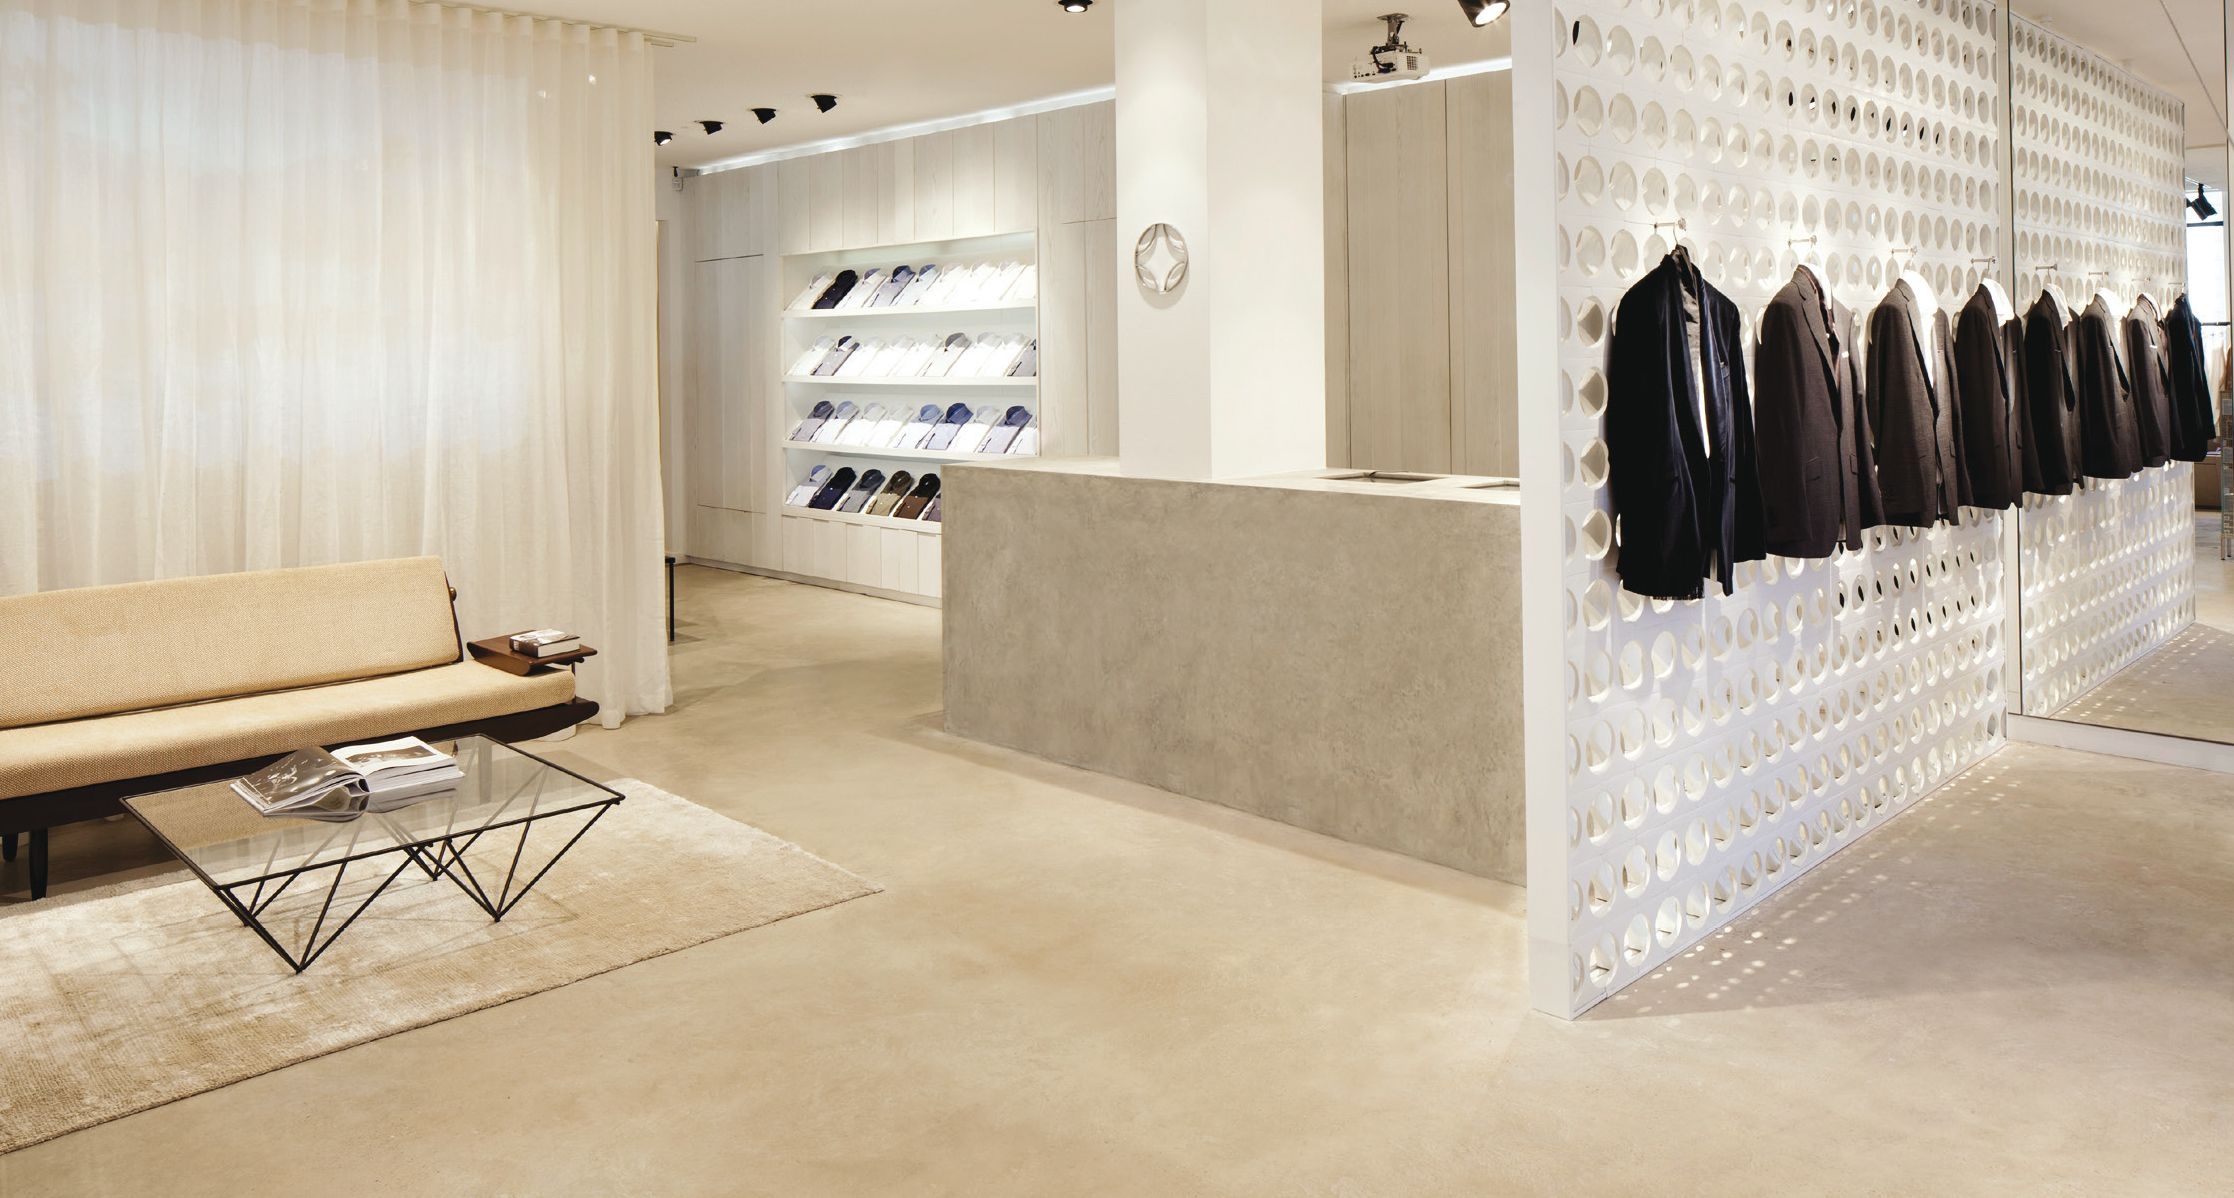
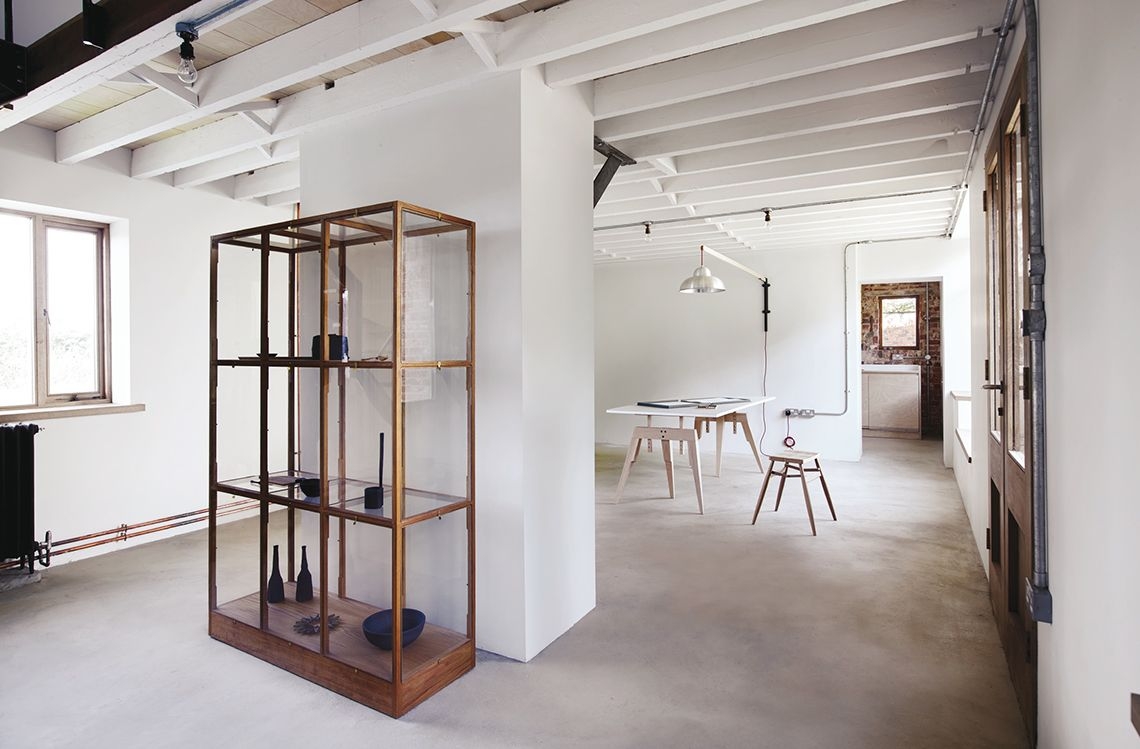
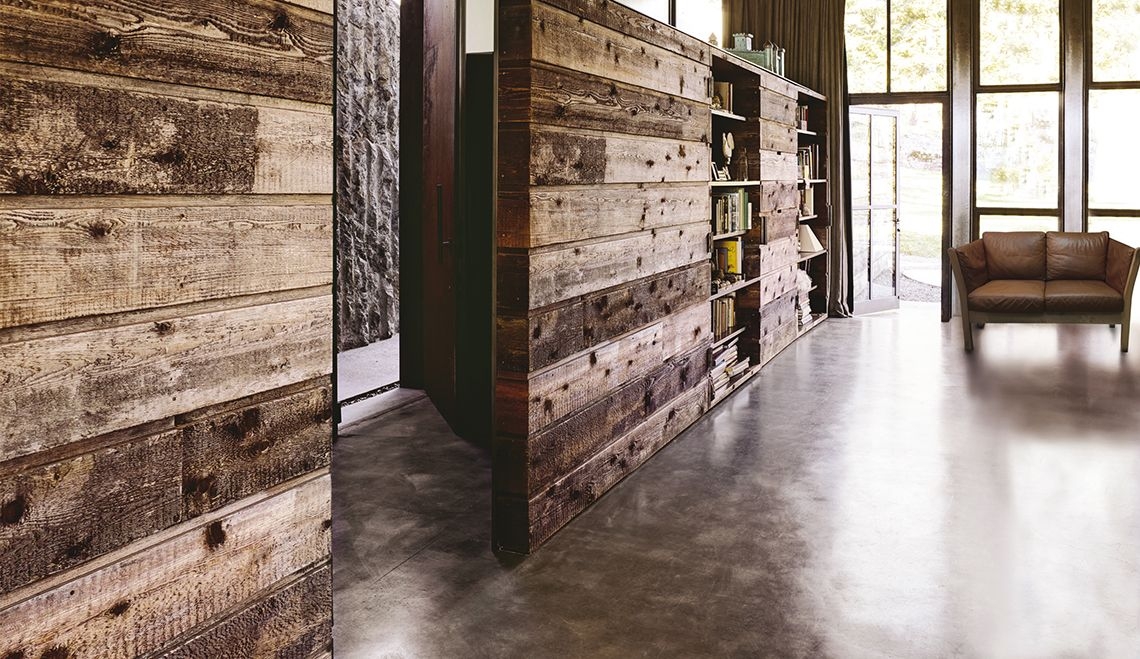
Of all the products available, VALPAINT I-BETON is perhaps the one most able to give a contemporary spin to the space-aesthetics relationship because it transcends size limitations and “stretches a surface out”, turning it into a single and irresistibly appealing monolithic block.
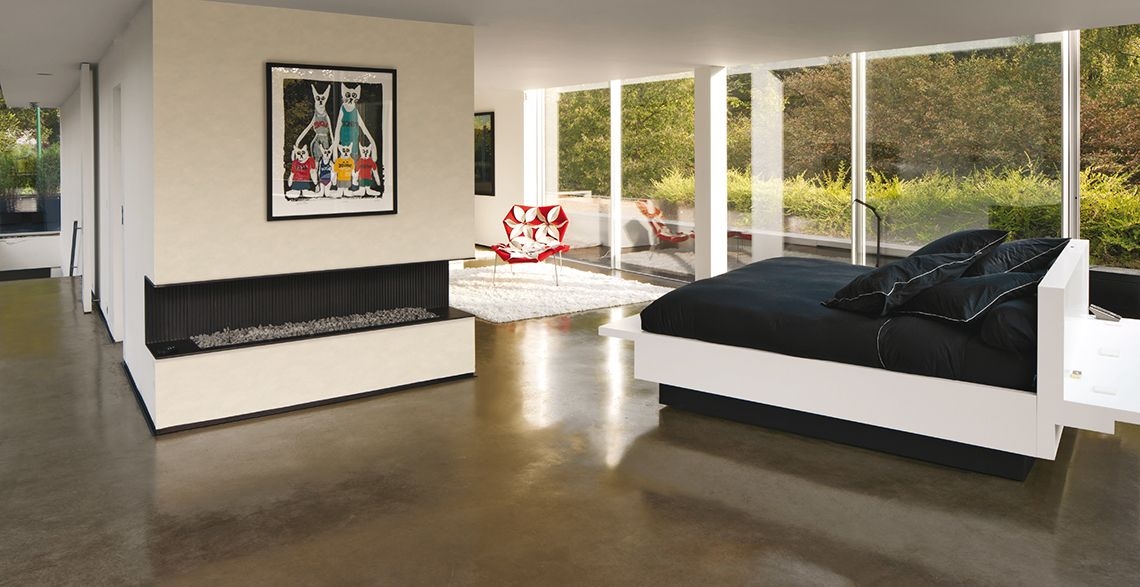
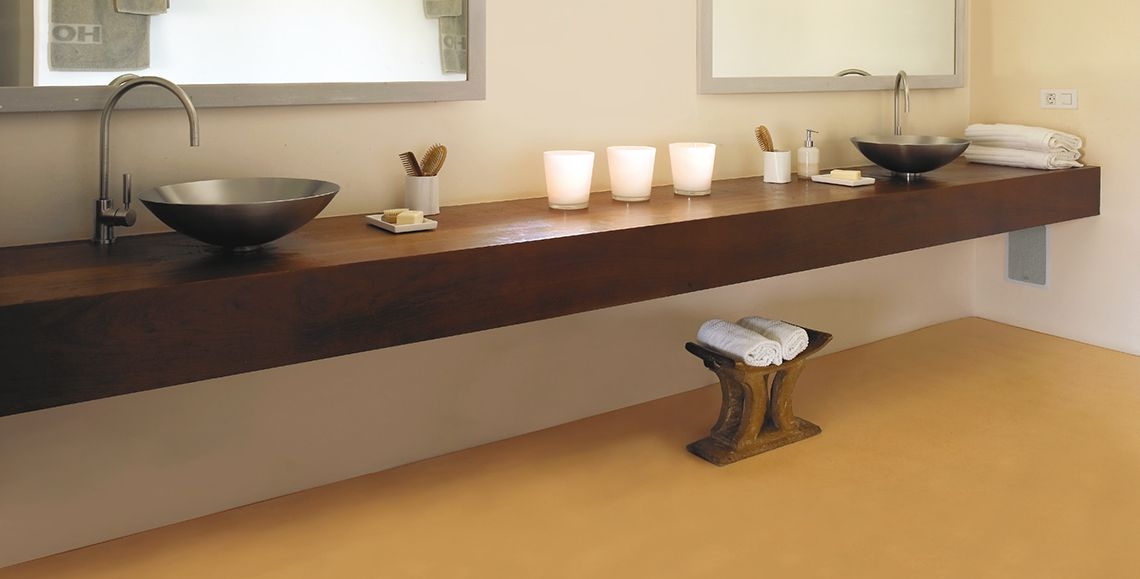
Thus, an appealing and high-quality paint for interiors becomes an innovating force, able to cleverly adapt and visually transform vertical and horizontal surfaces as well as areas where water is present, such as bathrooms, kitchens, damp areas in spas and health clubs, and other similar environments.
Indeed, VALPAINT I-BETON is particularly indicated for:
- covering surfaces with previous tiling or the such like, without any need to remove tiles;
- covering floors with tiles or other similar materials, without any need for prior removal;
- coating and protecting interior cement surfaces;
- covering and protecting surfaces of any kind, as long as they are hard and have been properly treated;
- coating and protecting shower-cabin interiors, including surfaces that come into contact with water.
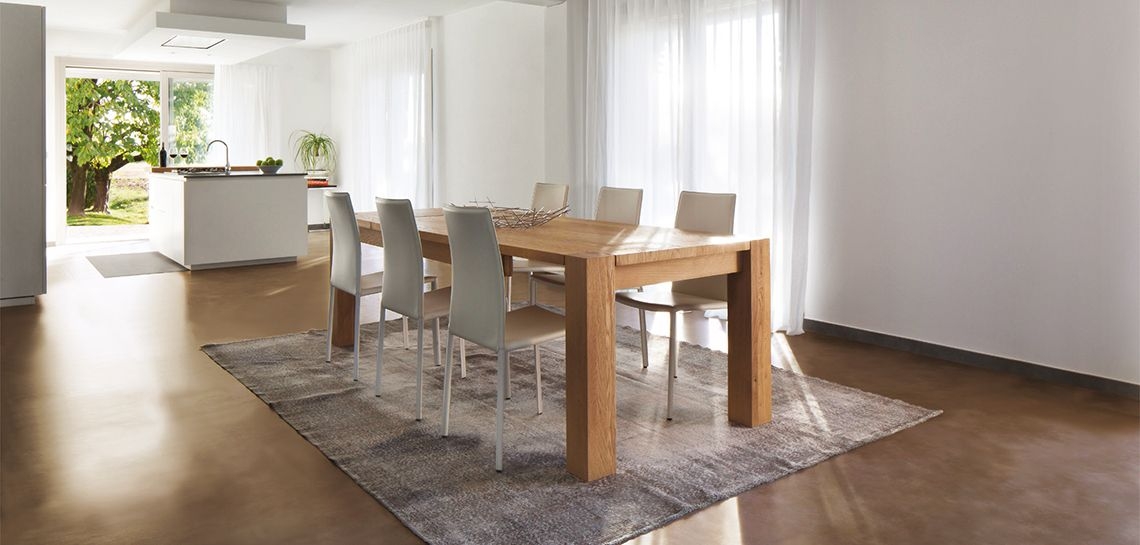
VALPAINT I-BETON: how to prepare surfaces
A) In the case of HUMIDITY-FREE surfaces
• Sand and level any ceramic tiles or any uneven parts of cement surfaces.
• Wash the surface thoroughly to remove any dust, grease, soap, flaking paint and anything else that may cause the paint to detach.
• When the surface is dry and stable, fill the grout lines between the tiles and any holes in the cement using bi-component STUCCO SB30 (this creates an even surface for painting and avoids the need for subsequent sanding).
• After 24 hours at 20°C, apply one coat of TOP COAT AR60 Glossy using a paintbrush or wool roller. TOP COAT AR60 Glossy must be catalysed with CT80, and in this case it should also be diluted 1:2 with water and mixed thoroughly.
• After 6-8 hours at 20°C, proceed with the application of METEORE 14 MEDIO.
N.B.: If the decorative effect needs to be achieved on the floors and walls alike, before applying METEORE 14 MEDIO, SIGILLANTE SG15 must be applied to the points where the wall and floor meet, creating a layer which is a few millimetres thick to obtain a “cove” around the entire perimeter of the floor to be treated.
In the case of surfaces with HUMIDITY LEVELS OF UP TO 15%
If the rising damp exceeds 15% (properly measured with a carbide hygrometer), we recommend not applying VALPAINT I-BETON.
If, on the other hand, it falls within this percentage limit, please follow the instructions below:
• Sand and level any ceramic tiles or any uneven parts of cement surfaces. Wash the surface thoroughly to remove any dust, grease, soap, flaking paint and anything else that may cause the paint to detach.
• Apply bi-component RASANTE DDS, which must be catalysed with B60 and then mixed thoroughly with a spatula or a mechanical tool.
N.B.: If the decorative effect needs to be achieved on the floors and walls alike, before applying RASANTE DDS, SIGILLANTE SG15 must be applied to the points where the wall and floor meet, creating a layer which is a few millimetres thick to obtain a “cove” around the entire perimeter of the floor to be treated.
RASANTE DDS must be applied within 40–50 minutes, using the PV 43 stainless steel trowel on a stable, clean and degreased surface that has been well dried (for example, with an industrial heater), so that the product adheres perfectly. This will prevent any detachments due to moisture.
• After 24 hours at 20°C, if the grout lines have not been fully levelled or if there are any holes, use bi-component STUCCO SB30 and wait a further 24 hours at 20°C before applying METEORE 14 MEDIO.
How to apply VALPAINT I-BETON to achieve a microcement effect
1) SKIM COATING WITH METEORE 14
• Apply a skim coat of METEORE 14 MEDIO, inserting the 64 K PV 121 Fibre-Glass Mesh to create a layer that is sufficient to cover it and obtain an even surface. Smooth the surface thoroughly to avoid the need for sanding and to prevent any lumps, irregular trowel marks and protrusions.
N.B.: On walls and floors in rough cement, or on tiled surfaces with missing tiles, you can apply a skim coat of METEORE 14 GROSSO instead of METEORE 14 MEDIO, using the 64 K PV 121 Fibre-Glass Mesh. This will provide a more structured surface with even greater resistance to compression. METEORE 14 GROSSO should also be thoroughly smoothed to avoid any need for sanding and to prevent any lumps, irregular trowel marks and protrusions.
2) FINISHING WITH METEORE 14:
• After 8-10 hours at 20°C, apply a second coat of METEORE 14 MEDIO, again using the PV 43 stainless steel trowel, then spray some water over the entire decorated surface using the PV 106 sprayer, and finish straight away with brush strokes in all directions so as to achieve a surface which is as smooth and compact as possible to avoid the need for sanding.
• Wait a further 8-10 hours at 20°C, and then apply a third coat of METEORE 14 MEDIO using the same method.
N.B.: For the third coat you can also use METEORE 14 FINE instead of METEORE 14 MEDIO in order to create a more even surface. Then, spray water using the PV 106 sprayer, and smooth the surface with brush strokes in all directions so as to achieve a surface which is as smooth and compact as possible to avoid the need for sanding.
3) MATT OR GLOSS PROTECTION WITH A TOP COAT
• After 8 - 10 hours at 20°C, clean the surface from any lumps and dust before finishing the decoration with the TOP COAT to obtain a waterproof matt or glossy final effect. Apply two or three coats of TOP COAT AR70 Matt or TOP COAT AR60 Glossy using the Mohair PV 31 wool roller. Both the TOP COATS are bi-component and must be catalysed with CT80 and mixed thoroughly.
• Wait 6-8 hours (at 20°C) between one coat and the next.
Treating shower cubicles with VALPAINT I-BETON
The VALPAINT I-BETON system cannot be used to coat ceramic shower cubicles.
On the other hand, cement or tiled shower trays can be coated with VALPAINT I-BETON, provided that the following indications are followed with regard to potentially troublesome aspects:
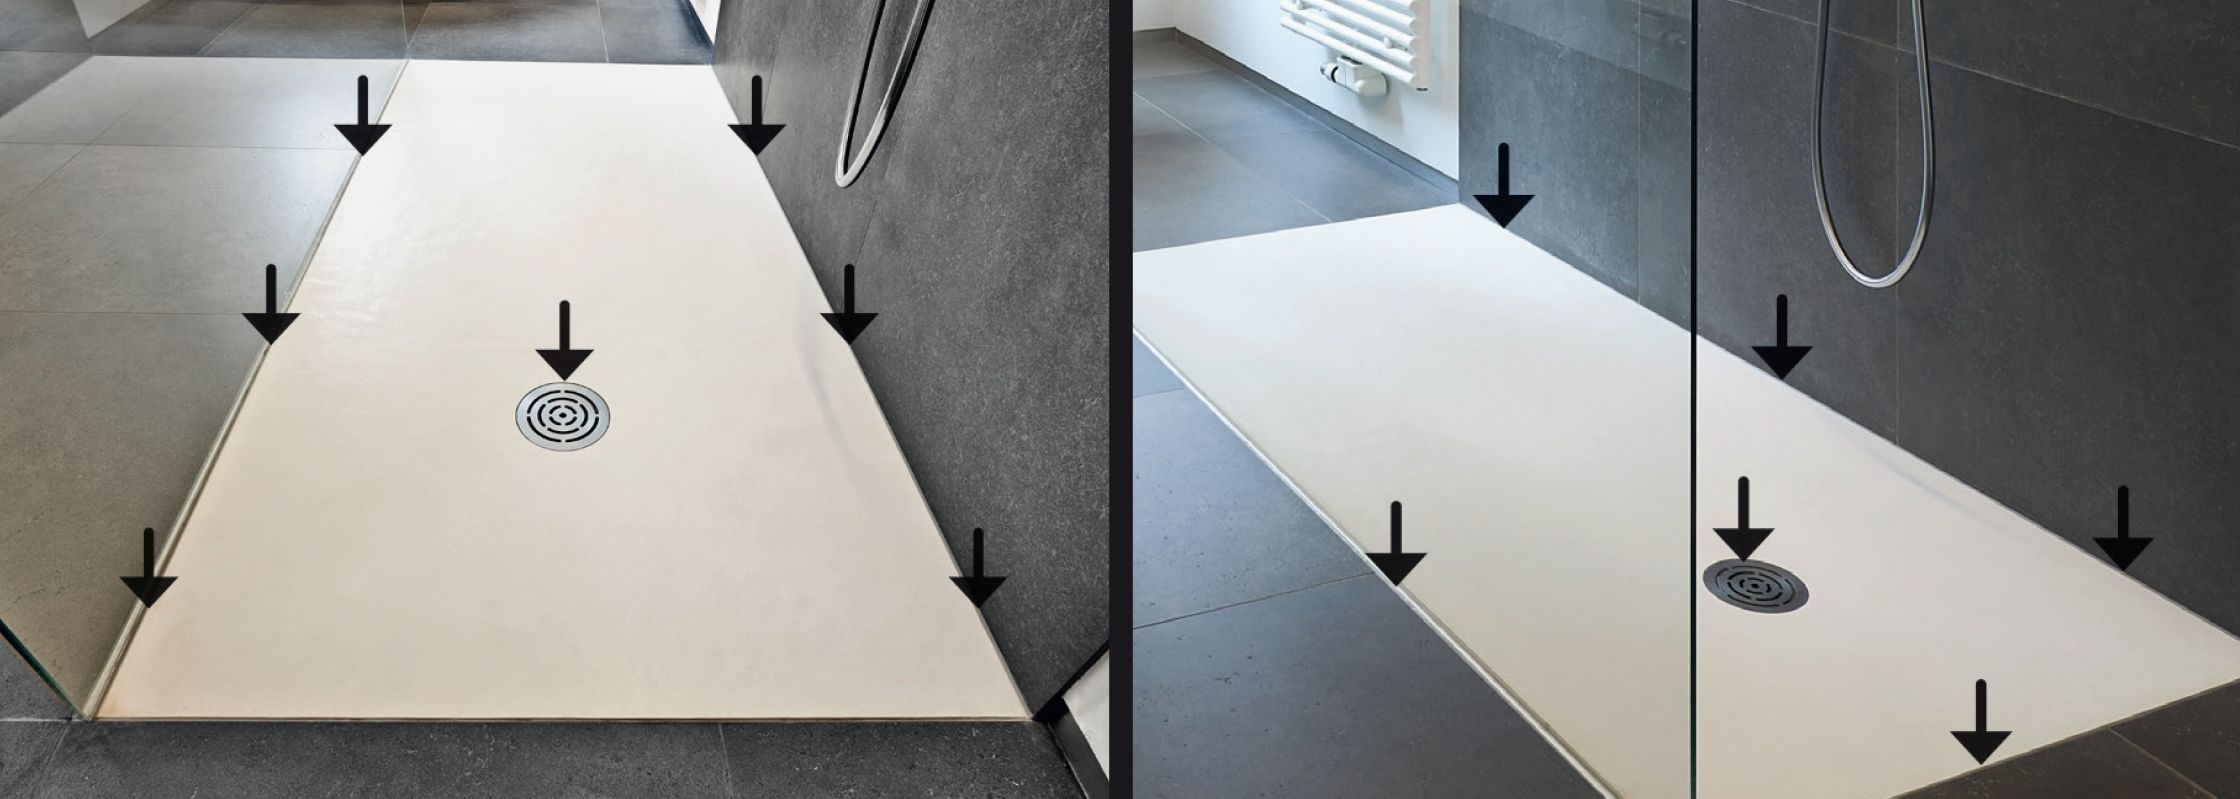
a) We recommend applying SIGILLANTE SG15 to drainage grilles, channels and tap attachments as well as around the perimeter of shower trays.
b) SIGILLANTE SG15 is easy to use, quick-drying and can be painted over after 2 hours at 20°C. It is also a high-performance product, being highly elastic, up to 350%, and resistant to mould.
c) Since it is easy to shape and hygrosetting, SIGILLANTE SG15 can also be applied to surfaces with humidity levels up to 15% and in all difficult areas, to a thickness of several millimetres, and in any case until the area has been completely sealed. It permanently solves water-tightness problems in all points where materials are in contact with VALPAINT I-BETON (metal, ceramic, glass, wood, cement), such as drainage channel unions.
d) Problem areas must be treated to prevent cracking at the floor/wall juncture and in order to stop water and dampness from leaving unpleasant marks and shortening the useful life of the treatment.
After applying SIGILLANTE SG15, you can apply RASANTE DDS and then proceed with the remaining METEORE 14 application cycle.
Would you like to find out more about the potential of VALPAINT I-BETON? Try reading VALPAINT I-BETON resin for walls and floors: the continuous-surface coating.